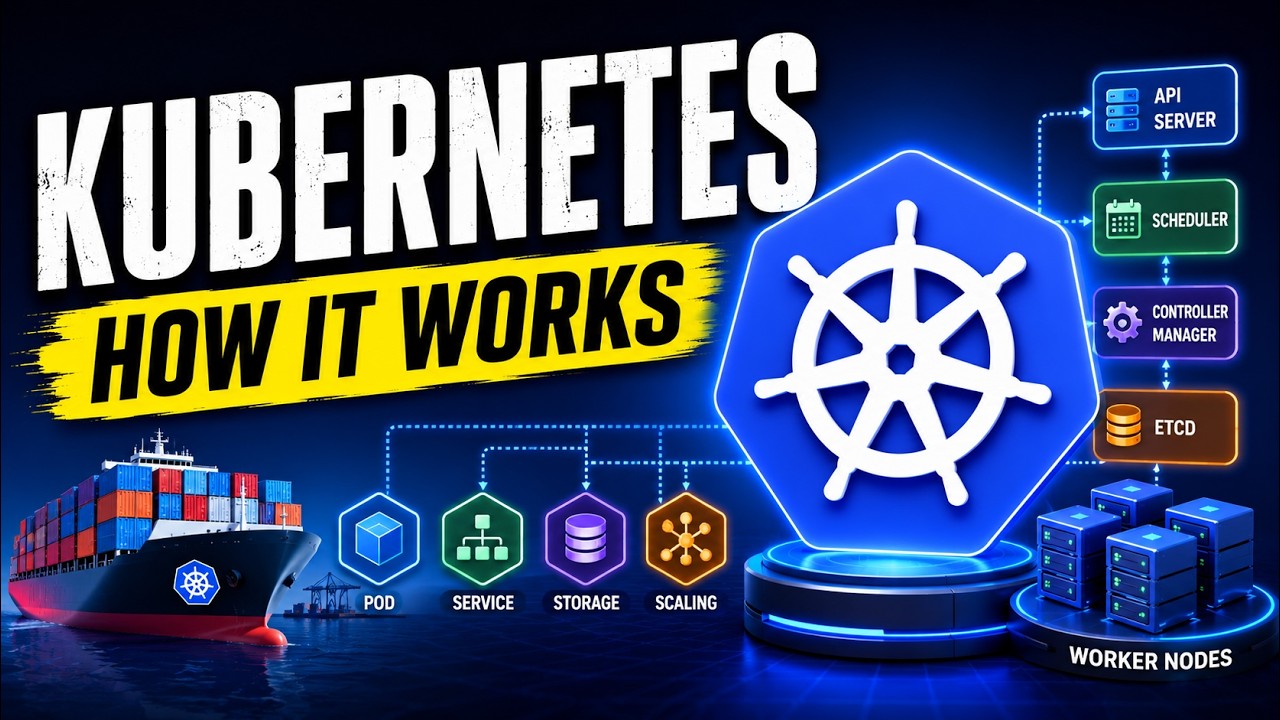
Objective
In this post, I want to achieve the following:
- install and get to know kubernetes
- deploy existing self made applications to a Kubernetes cluster
Result
1 - Install and study Kubernetes
To increase the portability, scalability and availability of my programs,
I am going to use Kubernetes as the software platform for container orchestration.
Portability means that Kubernetes can be installed and used on virtually all Linux distributions,
to deploy applications with scalability and high availability.
Kubernetes has become practically the standard for this in companies and for Cloud providers.
First, I learned the architecture and basic operation of Kubernetes via an online course.
After that, I compared various Kubernetes distributions and chose “K3s/K3d” as a lightweight implementation
(vs standard kubernetes K8s, Openshift, Talos Linux, Minikube, Kind, Microk8s).
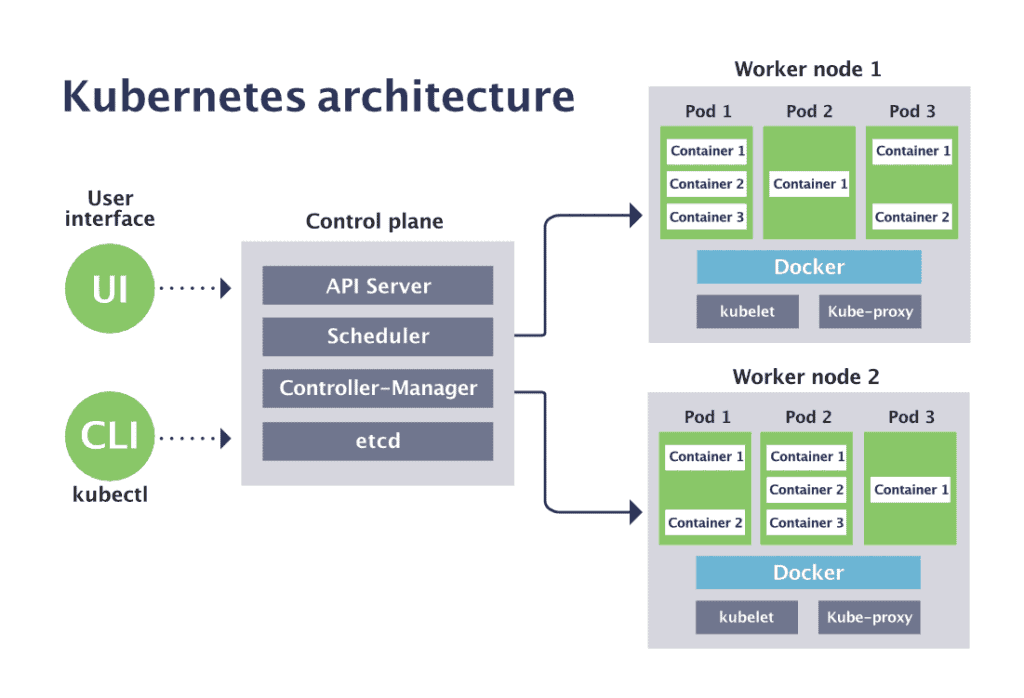
To install Kubernetes, I needed to provide hardware and/or virtual machines.
After that, I had to develop the desired cluster architecture and namespaces on top of this.
I created the following 3 Kubernetes environments:
- Kubernetes cluster local-devapp" for local development and exploration:
on my development PC/laptop, I installed “Rancher Desktop”;
inside I used a one-node cluster with K3s and a multi-node cluster with K3d,
where nodes can be dynamically created and removed when necessary - Kubernetes cluster"home-devdep" for central app development and deployment tools:
For this, I used a one-node cluster with K3s,
and purchased a refurbished business-grade machine for this;
this cluster can be expanded with extra nodes in later posts - Kubernetes cluster “home-prodapp” for applications deployed in production:
For this, I used a one-node cluster with K3s,
and purchased a refurbished business-grade machine for this;
this cluster can be expanded with extra nodes in later posts.
The purchase price of these 2 machines had to fall within my annual budget of 600 EUR.
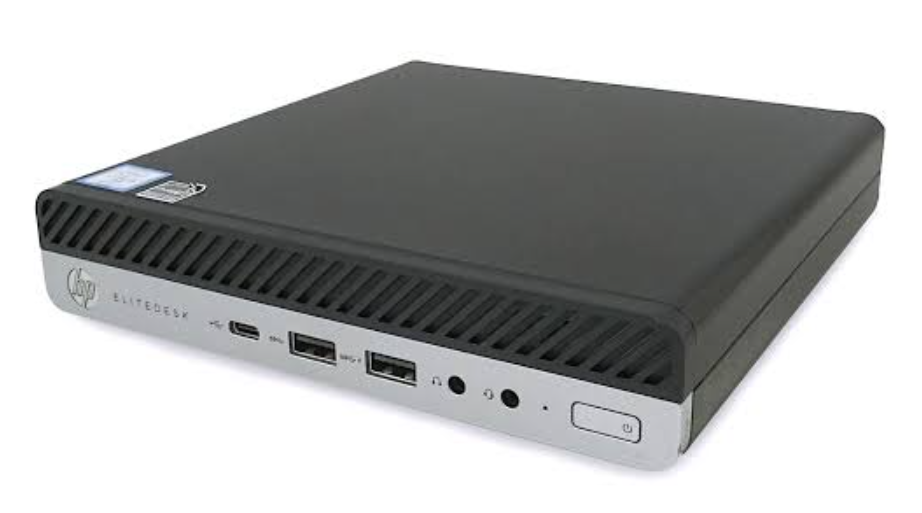
I bought now the following 2 refurbished business-grade mini pc’s with low power consumption,
and installed K3s Kubernetes on it:
HP EliteDesk 800 G5 USFF - Intel Core i5-9th Gen (6 cores/6 threads) - 16 GB DDR4 SDRAM - 256 GB SSD
2 - Study application deployment in Kubernetes
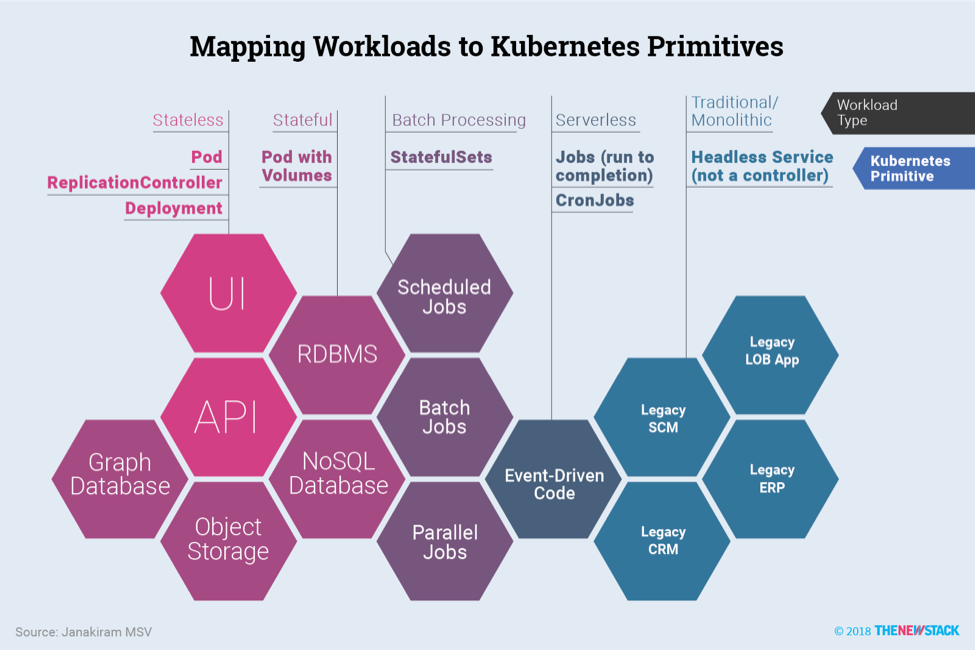
I started by learning how to deploy and use applications on the “home-prodapp” Kubernetes cluster.
ℹ️ Kubernetes provides support for improving the scalability and availability in three important areas:
- computing resources:
referred to as “Workloads” in Kubernetes;
Kubernetes specifies “Long-Running / Continuous” workload types (DaemonSet, Deployment, StatefulSet),
and “Batch / Scheduled” workload types (Jobs, CronJobs); - storage resources:
referred to as “Volumes” in Kubernetes;
Kubernetes specifies many types, which are categorized into “Ephemeral & Temporary”, “Node-Local”
and “Persistent & Networked” volume types; - networking resources:
referred to as “Services, Load Balancing, and Networking” in Kubernetes;
Kubernetes specifies “ClusterIP” (default), “NodePort”, “LoadBalancer”, “ExternalName” and “HeadlessService” as service types;
In this post, I have examined only the following resources:
- computing resources:
“DaemonSet”, “Deployment” and “StatefulSet” as workload types
(“Batch / Scheduled” workload types will be examined in later posts) - storage resources:
“emptyDir” & “configMap” & “secret” as Ephemeral,
“hostPath” als Node-Local and “nfs” & “csi” (Container Storage Interface) as Persistent volume types - networking resources:
“NodePort” and “LoadBalancer” as service types
To explore this Kubernetes application support, I created two namespaces beside “default” within the “home-prodapp” cluster:
- “ops” namespace:
intended for the installation of application and infrastructure monitoring tools - “demo” namespace:
intended for the re-installation of the existing homemade applications as “demo-hello2” and “demo-todo2”
ℹ️ In later posts we will also study “vCluster”.
vCluster handles isolation like clusters, but is lightweight like namespaces.
It is fast to launch like containers.
During this research, I looked for good web pages and YouTube videos to learn more about Kubernetes.
I sought a software solution to manage and archive all these bookmarks independently of browsers and efficiently.
I chose “Linkding” (over Karakeep or Linkwarden), a free, fast and lightweight bookmark manager.
3 - Upgrading my home network
3.1 - Change ISP for internet access at home

I switched to a new ISP for my home network, opting for a cheaper plan
with higher maximum internet speeds: 20 Mbps upload and 200 Mbps download.
ℹ️ In Belgium, ISPs provide their own standard modem/router with their own specific settings.
Some examples:
- Telenet and BASE:
DHCP range from 192.168.0.100 to 192.168.0.254;
static IP addresses from 192.168.0.0 to 192.168.0.99 - Proximus:
DHCP range from 192.168.129.0 to 192.168.129.254;
static IP addresses from 192.168.128.128 to 192.168.128.254 - Scarlet:
DHCP range from 192.168.1.0 to 192.168.1.254;
static IP addresses must fall outside this range, though no specific range is suggested.
With the router from my new ISP, I received a new public IP address,
which meant I had to review and, where necessary, update the static IP addresses for my servers.
I then updated the references to these static IP addresses in my Cloudflare configuration.
Finally, I adjusted the “port forward” address on my router.
This was followed by extensive testing to verify that everything worked just as it had with the previous ISP.
After finishing all tests succesfully, I removed all “Port forwarding”,
and changed to a more secure access using Cloudflare Tunneling.
All inbound requests are therefore blocked by the ISP router.
3.2 - Block ads when visiting web pages on internet
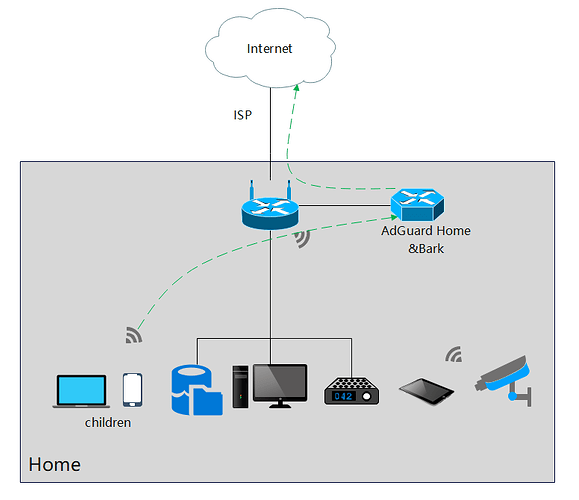
Outbound requests to the internet are permitted by the ISP router.
However, when visiting web pages, users are often exposed
to unwanted advertisements, pop-ups, online trackers, and malicious websites.
AdGuard (an alternative to Pi-hole) is popular DNS server software solution for blocking such content,
offering features for privacy protection, anti-phishing, and malware prevention.
I installed the free AdGuard Home software to protect the privacy of all communication via my ISP router.
3.3 - Add network security at home using VLANs
All physical and virtual machines on my home network have active firewalls with rules.
I also wanted VLAN support for improved internal network security,
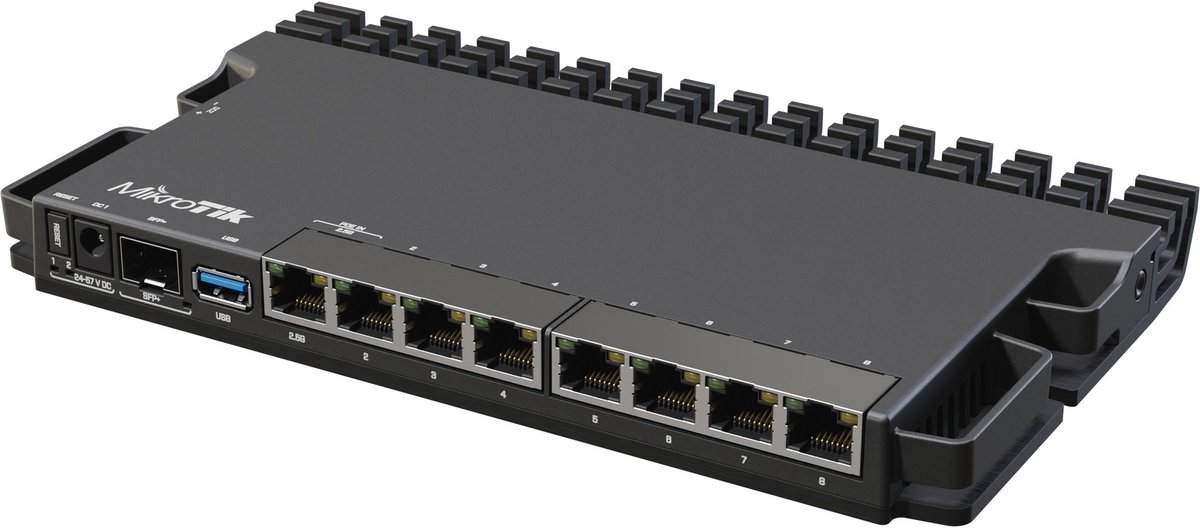
so I bought a new router for this purpose (using €200 from next year’s budget):
MikroTik RB5009UG+S+IN.
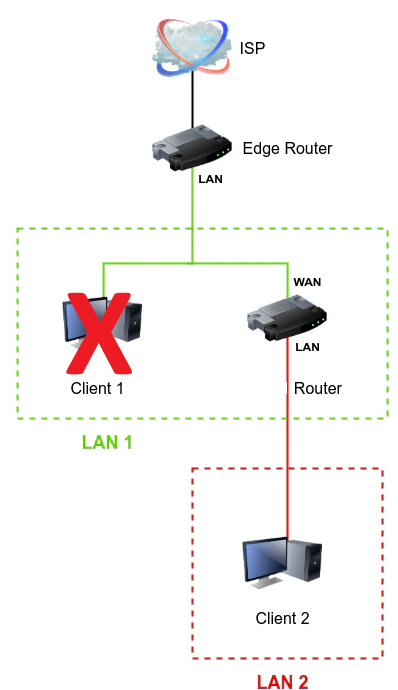
The modem/router provided by my internet service provider (ISP) does not support ‘bridge mode,’
which forced me to set up two separate networks (router behind router).
By setting up my own router behind the one provided by my ISP,
I become independent of the router chosen by the ISP and gain access to more router functionality.
The ISP router’s LAN address is 192.168.0.1, and it uses the 192.168.0.x DHCP range.
I modified this default configuration on the ISP router:
I disabled the Wi-Fi, changed the LAN address to 192.168.1.1, and updated the DHCP range to 192.168.1.x.
After that, I disconnected all LAN cables from this router and restarted the router.
I then connected a computer to my own router, accessed its management page,
and changed its LAN address to 192.168.0.1 (a different range than that of the ISP router).
I configured the other settings on my own router:
I set the DHCP range from 192.168.0.100 to 192.168.0.254
and disabled the firewall and NAT (this router does not have Wi-Fi).
Next, I connected a cable between a LAN port on the ISP router
and the WAN (or internet) port on my own new router.
I will also use my new router as a patch panel “alternative”,
to which all the 6 network cables for every room will be connected.
All servers were placed in a server rack behind a smart switch (Sodola).
My router now has a LAN address of 192.168.0.1
and assigns IP addresses in the 192.168.0.x range to connected devices.
After these changes to the second router, everything functioned just as it did before.
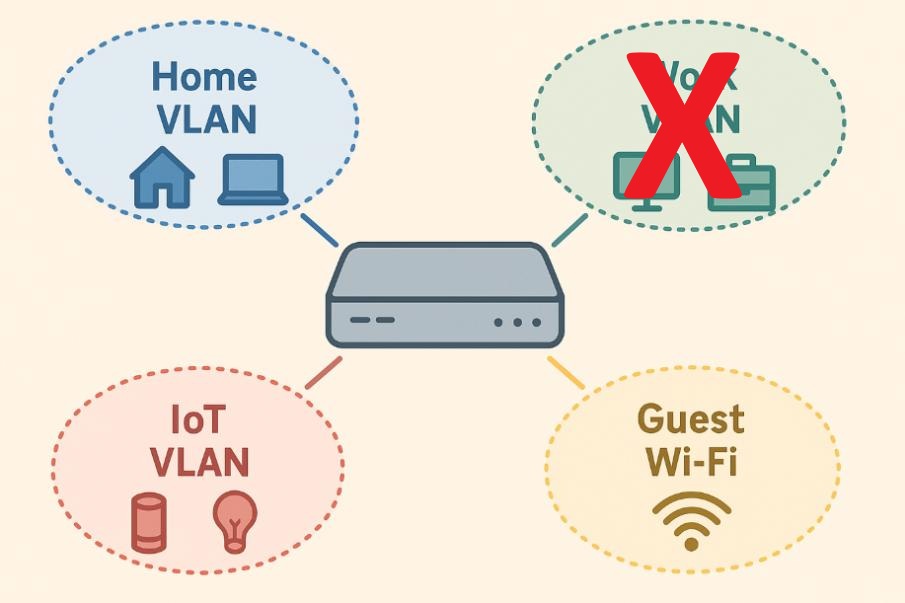
All my machines are now connected to my new router, which supports VLANs.
I will configure the following VLANs on this router:
- Mgmt VLAN (VLAN 01), used by network admin to manage switches and routers
- Home VLAN (default VLAN 10), used by trusted internal PCs, laptops, and servers (with full access)
- Guest VLAN (VLAN 20), used by visitors (with only internet access)
- IoT VLAN (VLAN 30), used by “Internet of Things” smart devices, tv’s and cameras (with only internet access)
- Surv VLAN (VLAN 40), used by surveillance cameras (with only internet access)
For now, I’ll stick to “Home VLAN” (default), “Guest VLAN” and “IoT VLAN”.
This allows me to provide visitors with Wi-Fi access to the internet via my home network,
without them gaining access to other devices by isolating them in a separate “Guest” VLAN.
I also read that some smart TV brands scan your home network and transmit that data to the internet.
By isolating IoT devices within their own “IoT” VLAN, we can mitigate this impact.

TODO
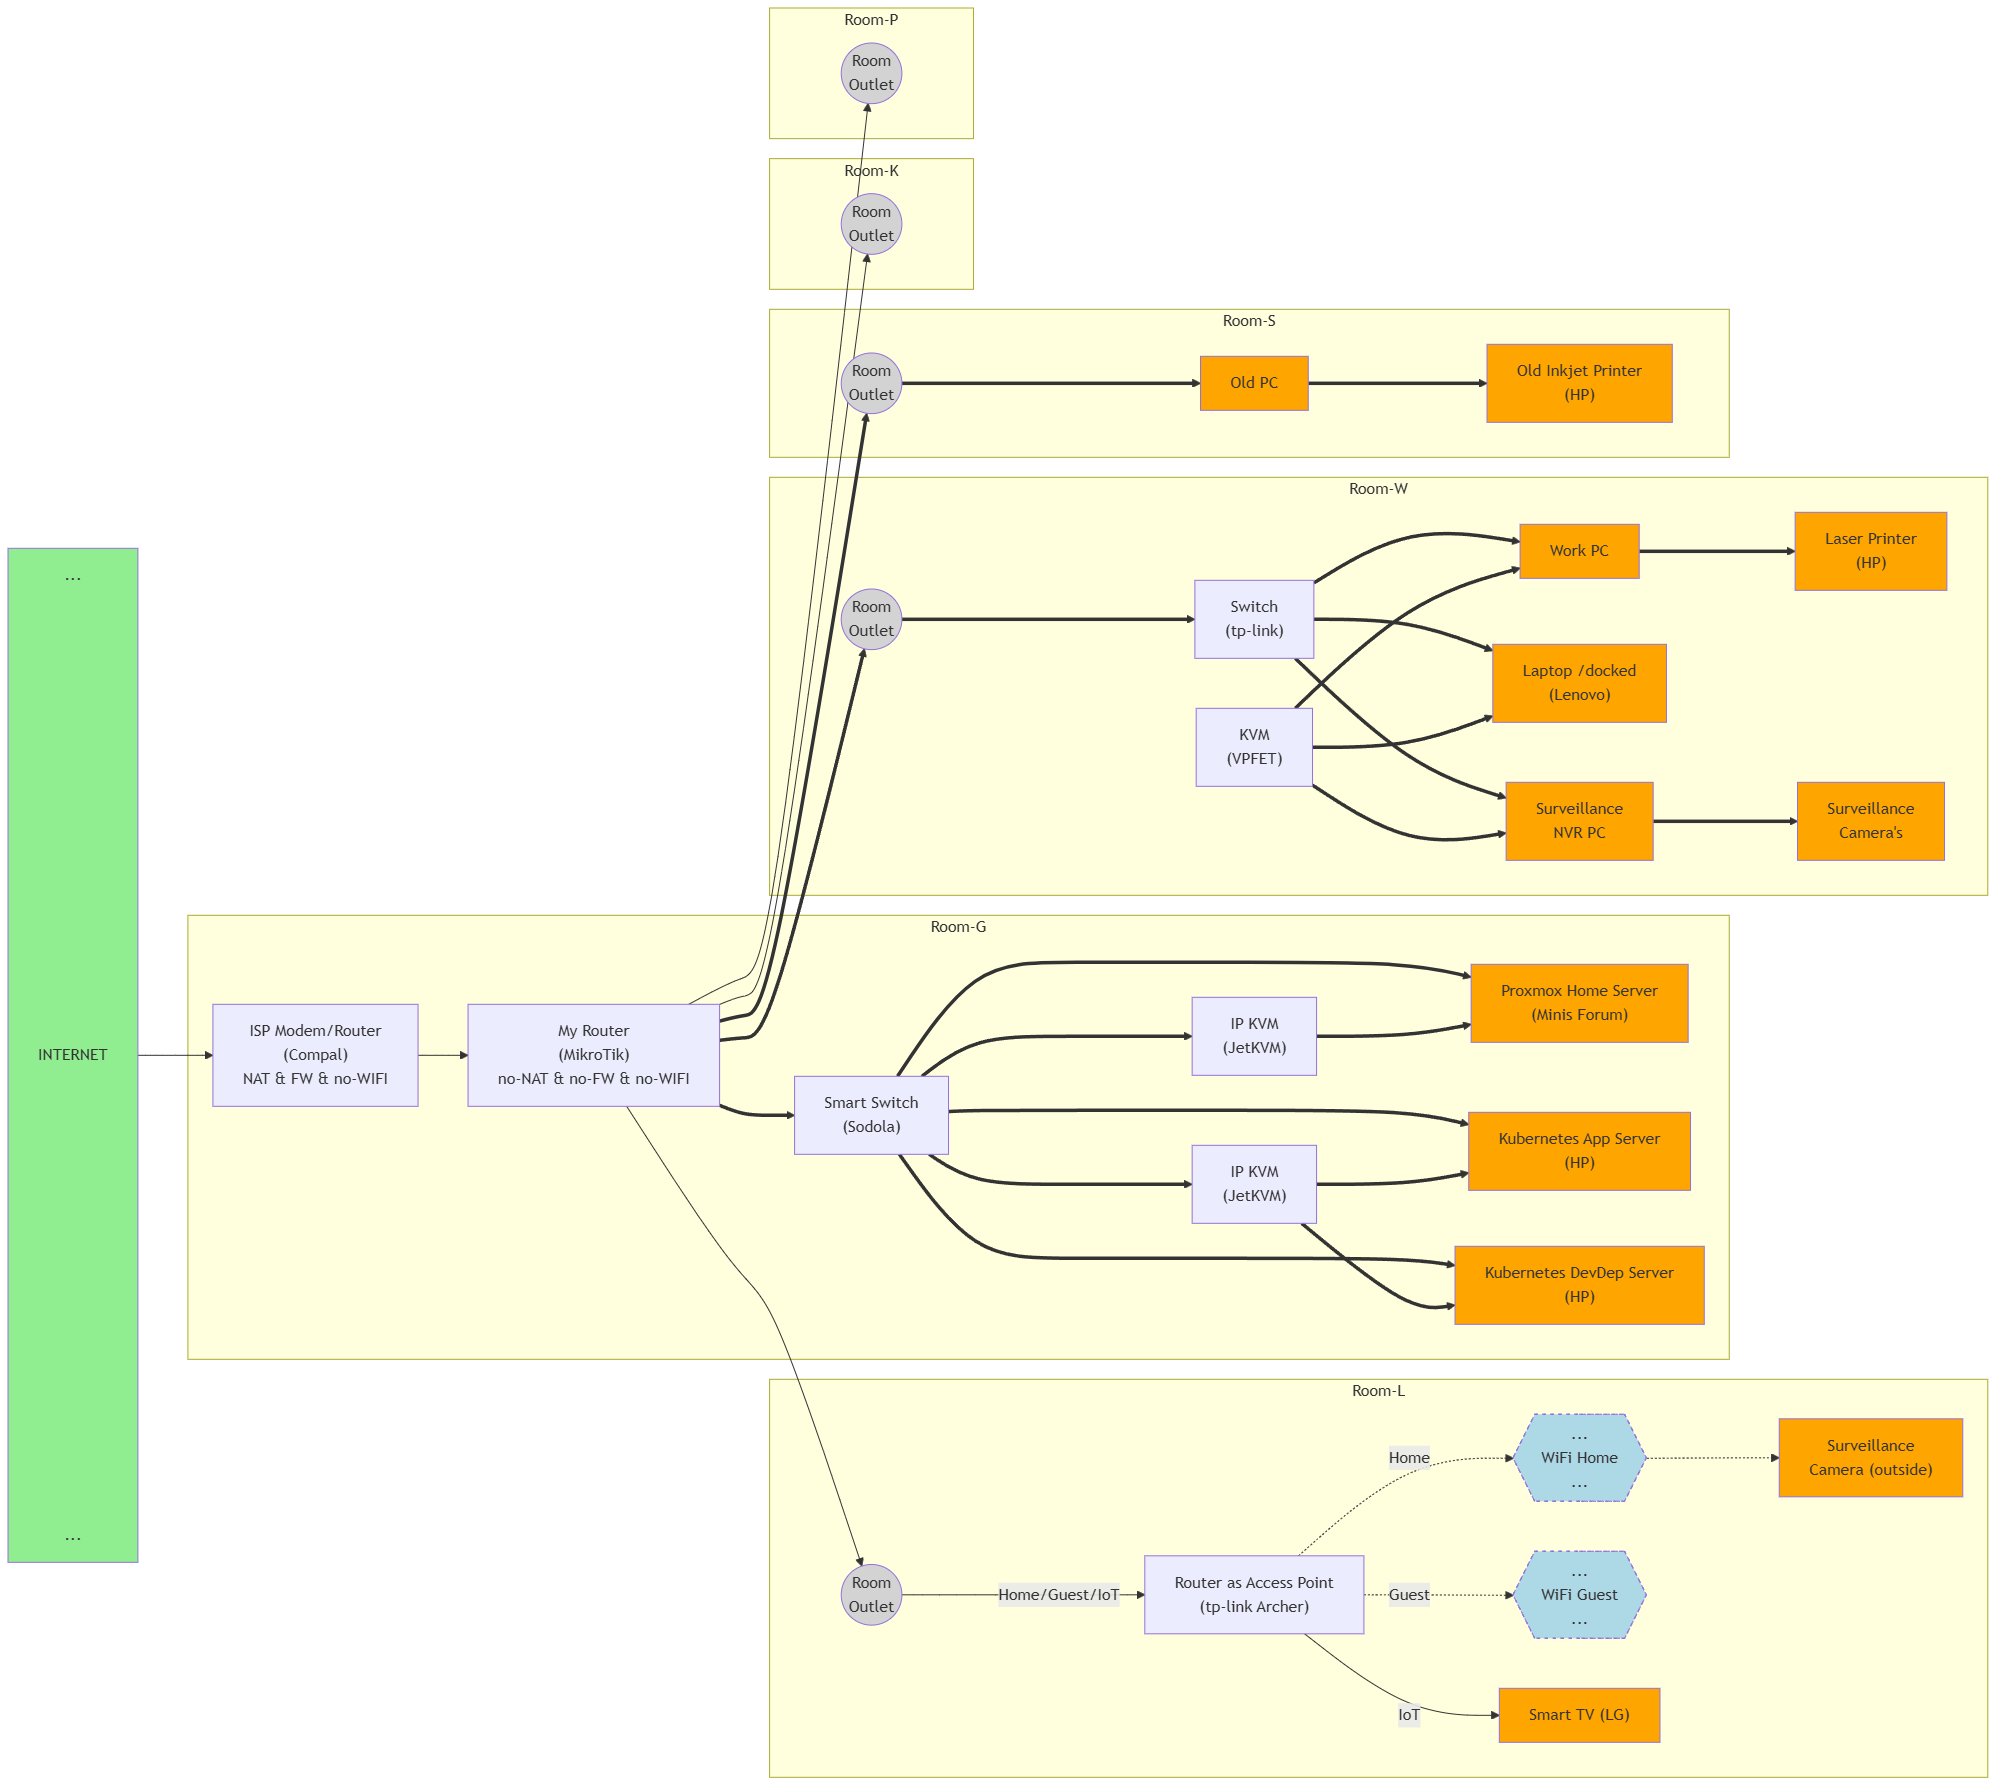
This resulted in the following architecture for my home network (using budget components):
4 - Deploy dummy app as DaemonSet workload in Kubernetes

DaemonSets are commonly used for deploying application and infrastructure monitoring software.
To demonstrate the use of DaemonSet workloads, I used “nginx” temporary to install;
Later, we will replace this software with the Grafana stack.
TODO
Kubernetes “DaemonSet” as workload type and “emptyDir” & “nfs” as volume types
I made use of “Rancher Desktop” as my main local kubernetes tool.
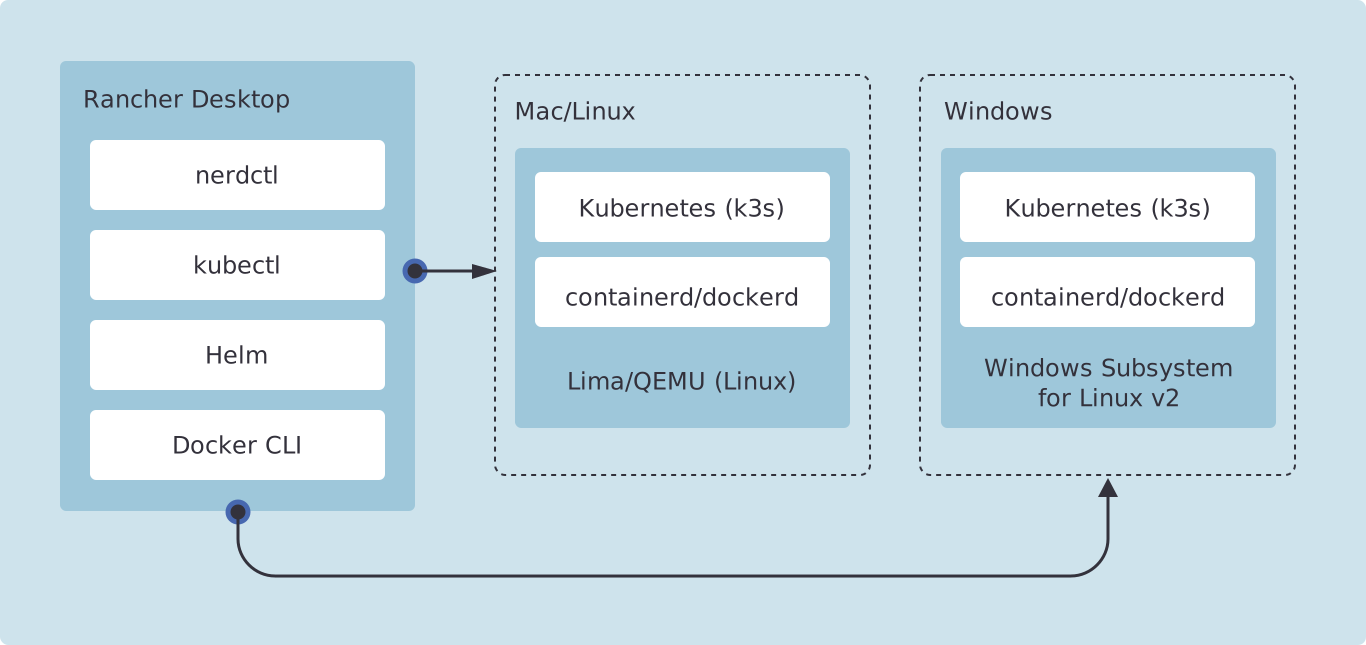
Using kubectl (with “kubectx” and “kubens” as plugins) as cli tool and raw kubernetes manifests (in yaml);
5 - Deploy existing demo-hello app as Deployment workload in Kubernetes

TODO
Kubernetes “Deployment” as workload type and “configMap” & “secret” as read-only volume types;
because we are using Deployments, all Pods are sharing the same volume
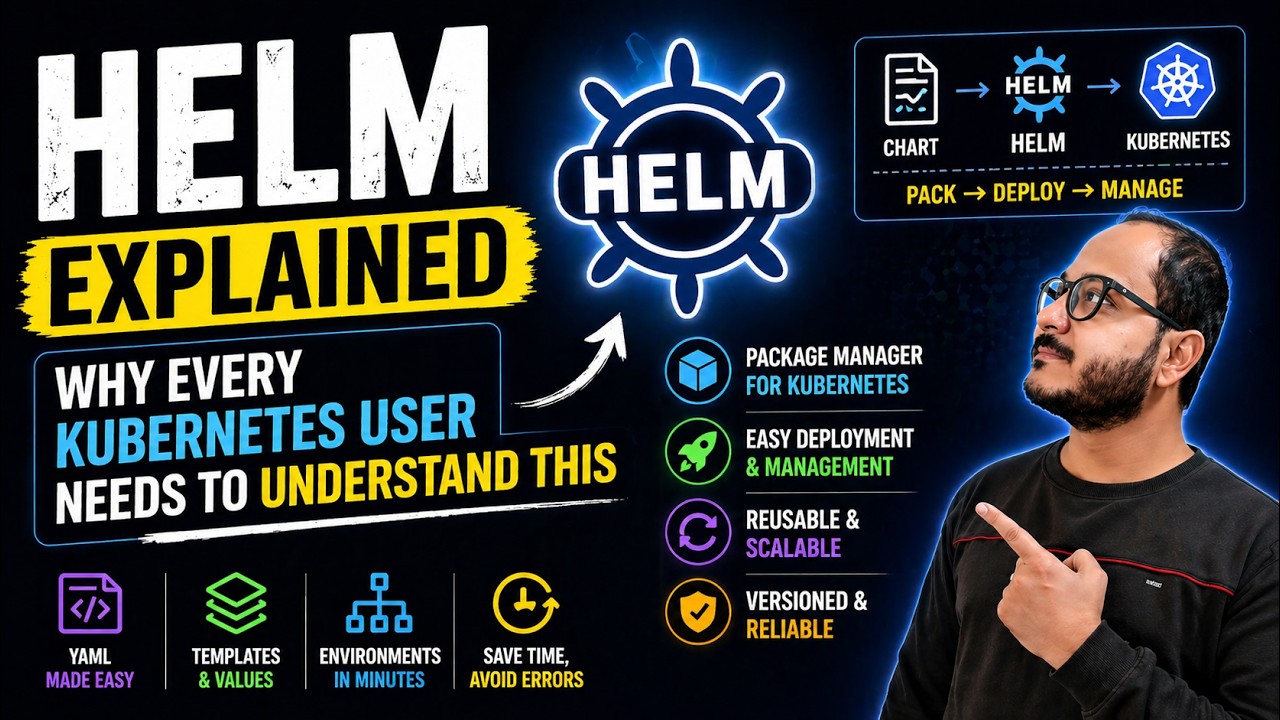
Using Helm (vs Kustomize) as config management tool;
Deploy the web UI “Kubernetes Dashboard” and access it.
6 - Deploy demo-todo app with database as StatefulSet workload in Kubernetes
TODO
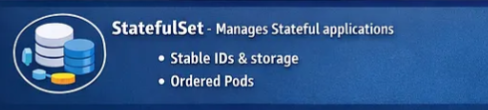
Kubernetes “Deployment” & “StatefulSet” as workload type
and “hostPath” & “nfs” & “csi” as volume types;
because we are using StatefulSets, each Pod gets a separate volume
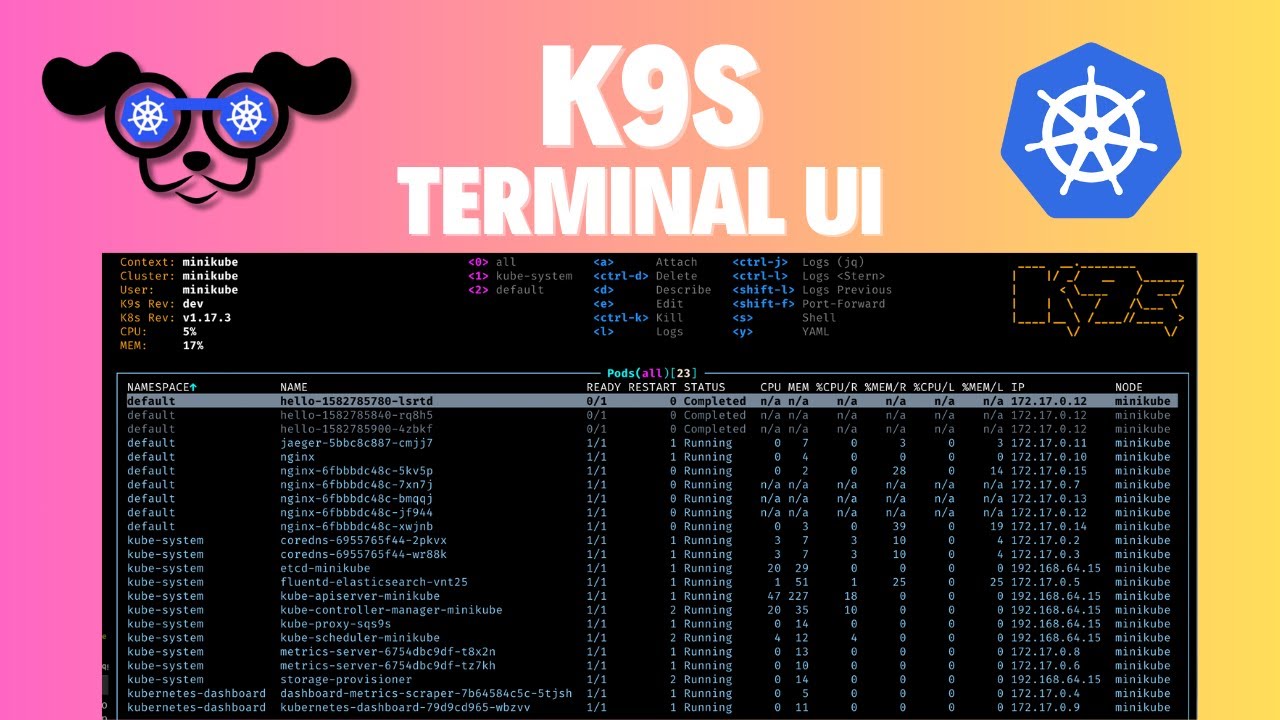
Using popular cli tools: K9s and “Lens” (vs kube-ps1, stern, kubetail, kube-shell, kubeadm);
7 - Make Kubernetes applications publicly accessible
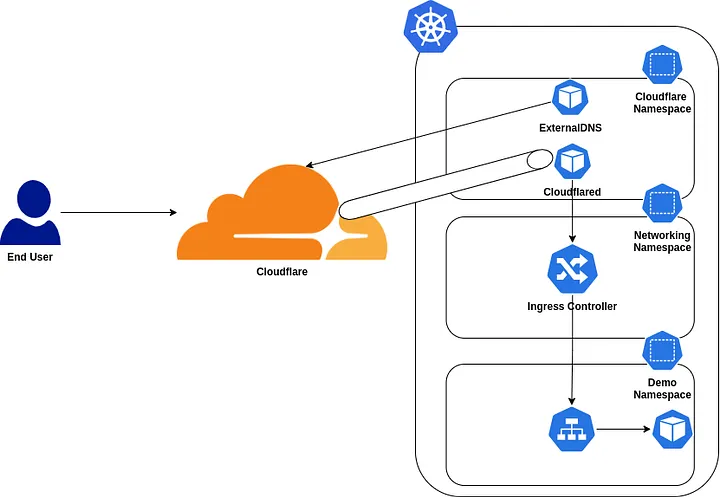
I chose “Zero Trust Network Access” (ZTNA) as the sole technology for enabling secure access to my home network.
As a result, there is no need to open ports in the firewall or to expose a (static) public IP address.
Twingate is the most popular and comprehensive ZTNA technology (with a free option).
However, since I already make use of Cloudflare services, I have opted for “Cloudflare Zero Trust”.
The Cloudflare Zero Trust solution uses Cloudflare Tunneling and Cloudflare Access.
Perhaps later I will have to swith to Twingate for higher throughput when implementing private Cloud storage.
I have added an explanation of ZTNA to the Overview of network technology
.
TODO
Make “demo-hello2” and “demo-todo2” publicly accessible,
using Cloudflare Tunneling and Kubernetes “LoadBalancer” service type